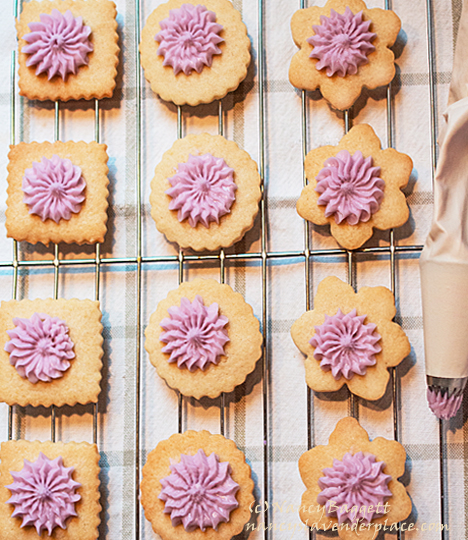
Lavender-Orange Buttercream Frosting If you are interested in trying out lavender in your baking, this buttercream recipe is a great place to begin. The ...
Naturally Beautiful Dyed Easter Eggs

Beautiful Easter Eggs the Natural Way by Nancy Baggett I have been dyeing and hunting Easter eggs with my family since my siblings and I were barely ...
Lavender-Ginger-Spice Cranberry-Pear Muffins
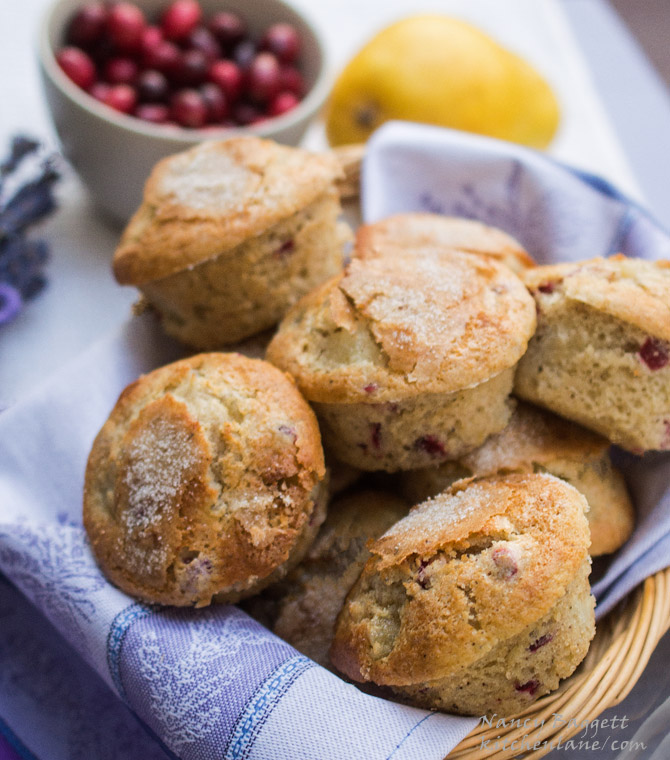
If you haven't used lavender in a baking, this is a good recipe to start with. It features a technique I use often; I grind the sugar and culinary lavender ...